Are you curious about microneedling at home and how to get started safely and effectively? This guide is here to walk you through everything you need to know about using the Dr. Pen M8S microneedling pen as a beginner. Whether you’re targeting fine lines, acne scars, or dull skin, this guide will help you start your journey to glowing skin with confidence.
What is Microneedling?
Microneedling, also known as collagen induction therapy, is a minimally invasive procedure that employs ultra-fine needles to cause controlled micro-injuries on the skin’s surface. This method activates the body’s natural healing response, stimulating the production of collagen and elastin, which are essential for firm, smooth, and youthful-looking skin.
Microneedling can help reduce the appearance of fine lines, acne scars, enlarged pores, and pigmentation, as well as enhance skin texture and tone. While this treatment is often performed professionally, the emergence of modern home devices such as the Dr. Pen M8S allows you to get the same benefits from the comfort of your own home.
Why Choose the Dr. Pen M8S for Home Microneedling?
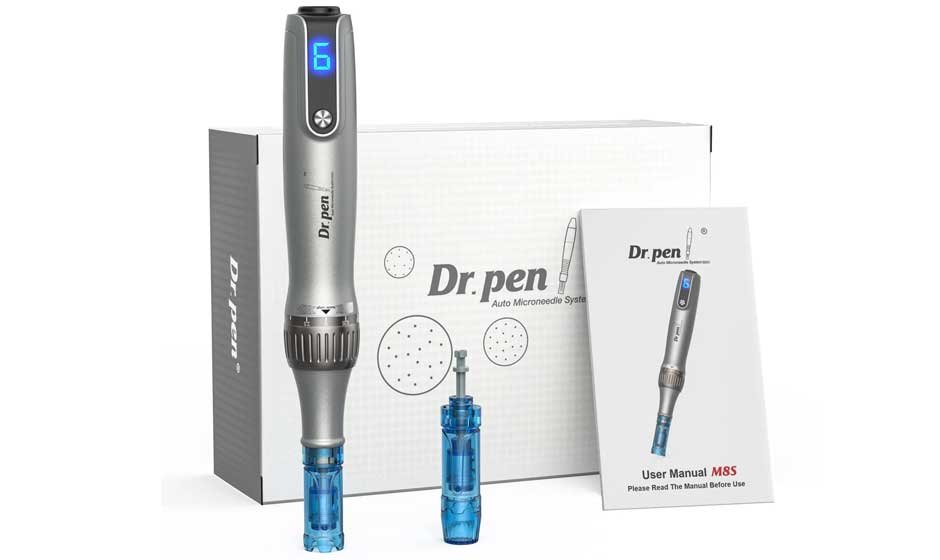
The Dr. Pen M8S microneedling pen is intended to provide professional-grade results with simplicity and precision. It has a sleek appearance, adjustable settings, and a strong motor that provides a smoother, more consistent performance with each session. Unlike rollers, which can pull on the skin, the Dr. Pen M8S employs vertical stamping technology to minimize stress and trauma while also enhancing overall results.
The device also lets you change the needle depth and speed, making it appropriate for a variety of skin issues and regions. Whether you’re treating delicate regions like under the eyes or targeting deeper scars, the M8S offers versatility and control.
If you’re unsure how to use a Dr. Pen at home, the M8S makes the process easy and effective, making it an ideal choice for beginners. It’s excellent for anybody who wants to enhance their skin’s health, texture, and radiance without visiting a medical professional and paying hundreds of dollars each session.
Benefits of Microneedling at Home
Microneedling at home offers a wide range of benefits, especially when using a high-quality device like the Dr. Pen M8S. It allows you to:
- Save time and money compared to in-clinic sessions, which can cost up to $100 or more a service.
- Address multiple skin concerns from the comfort of your own home.
- Stimulate collagen and elastin production for firmer, more youthful skin.
- Enhance absorption of skincare products and serums.
- Improve skin texture, tone, and overall radiance.
With consistent use, at-home microneedling can deliver visible results in as little as one treatment. Just remember, how often you should microneedle is determined by your skin type and needle depth, but it is generally every 4 to 6 weeks.
How to Use the Dr. Pen M8S for Microneedling
If you’re looking for the best ways to use Dr. Pen at home, this breakdown should help. By following these simple but effective steps, you can achieve the glowing skin you’re dreaming of:
Step 1: Prepare Your Skin and Tools
Start by washing your face with a mild, non-stripping cleanser to remove any dirt, oil, or makeup. Before you attach the needle cartridge to your pen, disinfect it with 70% isopropyl alcohol. Always operate with clean hands and a sanitary environment.
Step 2: Apply a Topical Numbing Cream (Optional)
If you’re using longer needle depths (more than 0.5mm) or have a poor pain threshold, use a topical numbing ointment and keep it on for 20 to 30 minutes. Be sure to properly remove all of the creams before beginning your treatment.
Step 3: Adjust the Needle Depth
Choose the needle depth that is appropriate for your treatment region. A shorter setting (0.25-0.5mm) is recommended for sensitive regions such as the undereyes. For deeper scars or textural difficulties, raise the depth to 1.0-1.5mm. Please note that only trained professionals should work with needle depth over 1 mm.
Step 4: Begin Microneedling
Turn on your Dr. Pen M8S and select a speed setting. Gently move the pen horizontally, vertically, and diagonally across the treatment area. Avoid exerting too much pressure; instead, let the device do the work. Work in small sections to prevent overlapping too much in one area.
Step 5: Apply Post-Treatment Products
After microneedling, use a moisturizing serum such as hyaluronic acid or a collagen-boosting product. The microchannels produced during the session allow your skin to absorb these products more efficiently.
Step 6: Clean and Store Your Device
Remove the used needle cartridge and disinfect the pen again. Store it in a clean, dry area until your next session.
Safety Tips for At-Home Microneedling
To make sure you have a safe first experience with the Dr. Pen M8S, follow these important safety guidelines:
- Always use a new, sterile needle cartridge for each session.
- Never microneedle over active acne, infections, or irritated skin.
- Avoid using harsh skincare products (like retinol or acids) for 3 to 5 days post-treatment.
- Stay out of direct sunlight and use SPF daily after your session (even if you are indoors).
- Disinfect your tools before and after every use.
- Know how often you should microneedle, start slowly, and allow your skin time to heal between sessions.
By following these simple tips, you can ensure safe and effective treatments every time.
Get Started with Dr. Pen’s M8S At-Home Microneedling Treatment
If you’re looking for a simple yet highly effective at-home skincare treatment, the Dr. Pen M8S might be exactly what you need to get started. Purchase your system on our website, or feel free to reach out to our experts to find out if this is the right option for you!