Screen printing is a popular method for creating custom T-shirts, offering vibrant colors, durability, and the ability to produce intricate designs. Best of all, you don’t need a professional studio to start screen printing; with the right screen printing machine and a bit of creativity, you can screen print T-shirts at home. This guide will walk you through the process, from gathering materials to completing your first custom T-shirt, ensuring you achieve professional results without leaving your home.
Materials Needed
Before you begin screen printing, it’s important to gather all the necessary materials. Here’s a list of what you’ll need:
- Screen Printing Frame (Screen): A frame with a mesh screen stretched across it. The mesh count (the number of threads per inch) will affect the level of detail you can achieve.
- Emulsion and Sensitizer: These chemicals are used to coat the screen, allowing your design to be transferred onto the mesh.
- Transparency Film: You’ll print your design onto this clear sheet, which will then be used to expose the screen.
- A Light Source: A strong light, such as a UV lamp or a high-wattage bulb, is necessary for exposing the screen.
- Ink: Choose screen printing ink and a screen printer that is suitable for fabric. Plastisol ink is a popular choice for its durability.
- Squeegee: This tool is used to push ink through the screen onto the T-shirt.
- T-Shirts: Start with 100% cotton T-shirts, as they absorb the ink well and produce vibrant results.
- Cardboard or Foam Board: To place inside the T-shirt, preventing ink from bleeding through to the back.
- Tape: To secure the transparency and block out unwanted areas on the screen.
- A Dark Room or Space: You’ll need a dark room to apply the emulsion and let it dry without premature exposure.
- Water Source: For rinsing the screen after exposure.
Step 1: Prepare Your Design
The first step in screen printing is preparing your design. Use graphic design software like Adobe Illustrator, Photoshop, or free alternatives such as GIMP to create or edit your design. Keep in mind that screen printing works best with bold, simple designs that don’t require fine gradients or too much detail. Once your design is ready, print it onto the transparency film using a laser or inkjet printer.
Step 2: Coating the Screen with Emulsion
In a dimly lit or darkened room, mix the emulsion and sensitizer according to the manufacturer’s instructions. The emulsion is light-sensitive, so it’s crucial to work quickly and carefully. Using a squeegee, coat both sides of the screen with a thin, even layer of emulsion. Ensure the screen is covered entirely, as any gaps will affect the final print. After coating, place the screen in a dark area to dry completely. This can take several hours, depending on the emulsion and room conditions.
Step 3: Exposing the Screen
Once the emulsion is dry, it’s time to expose your screen. Lay the transparency film with your design onto the screen, positioning it exactly where you want the print to appear on the T-shirt. Secure the film with tape to prevent movement.
Place the screen under a strong light source for exposure. The light will harden the emulsion where it isn’t covered by the design, while the areas under the design will remain soft. Exposure time will vary depending on your light source, typically ranging from 10 to 30 minutes. After exposure, you should see a faint outline of your design on the screen.
Step 4: Rinsing the Screen
Once the exposure is complete, it’s time to wash out the screen. Use a hose or a spray bottle filled with water to gently rinse the screen. The areas that were not exposed to light (under your design) will wash away, creating the stencil. Continue rinsing until the design area is completely clear, and then let the screen dry.
Step 5: Setting Up for Printing
Now that your screen is ready, it’s time to set up for printing. Place a piece of cardboard or foam board inside the T-shirt to prevent ink from bleeding through to the other side. Position the screen on top of the T-shirt where you want the design to be printed.
Step 6: Applying the Ink
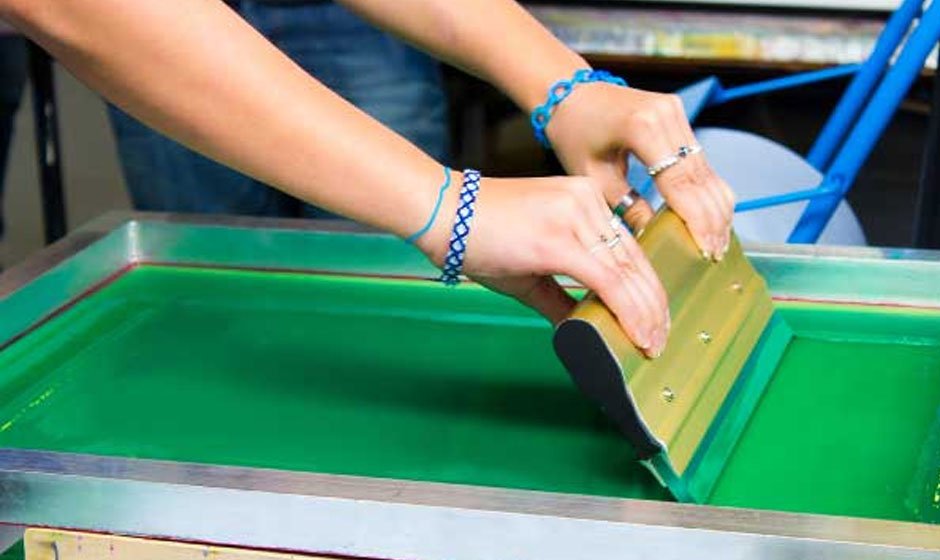
Pour a small amount of ink onto the screen above your design. Using a squeegee, spread the ink evenly across the screen, pressing it firmly to push the ink through the mesh onto the fabric. It’s important to make a few smooth, even passes to ensure the ink fully covers the design area. Be careful not to overdo it, as too much ink can cause the print to become thick or messy.
Step 7: Curing the Ink
After printing, carefully lift the screen to reveal your design. The next step is to cure the ink, making it permanent. Depending on the ink type, curing can be done using a heat gun, an iron (with a piece of parchment paper between the iron and the design), or by using a flash dryer. Follow the ink manufacturer’s instructions for the appropriate curing time and temperature.
Step 8: Cleaning the Screen
After completing your prints, it’s crucial to clean your screen promptly. Use water and a screen cleaner to remove any remaining ink and emulsion from the mesh. This will prevent the screen from clogging and allow it to be reused for future prints.
Conclusion
Screen printing a T-shirt at home is a rewarding and creative process that can produce professional-looking results with practice and attention to detail. By following these steps—from preparing your design to applying ink and curing—you can create custom T-shirts that showcase your style, brand, or artwork. With the right materials and a bit of patience, you’ll be able to produce high-quality prints that you can wear, sell, or share with pride.


